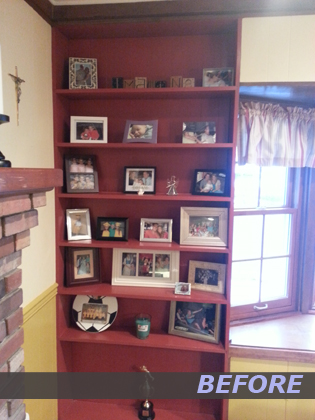
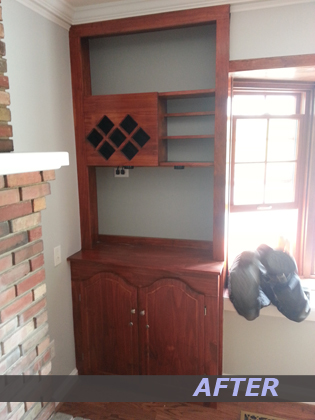
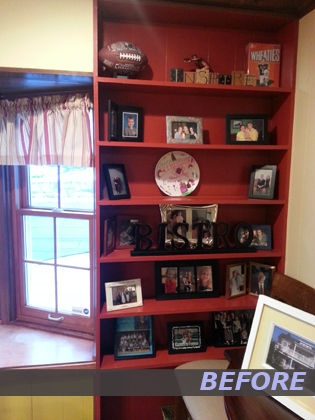
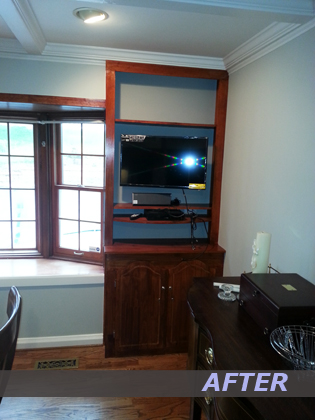
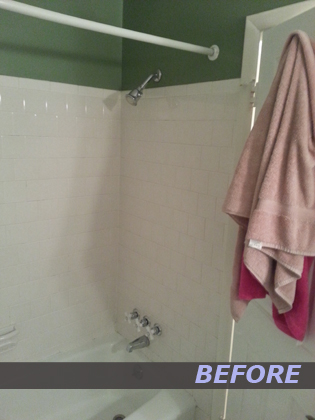
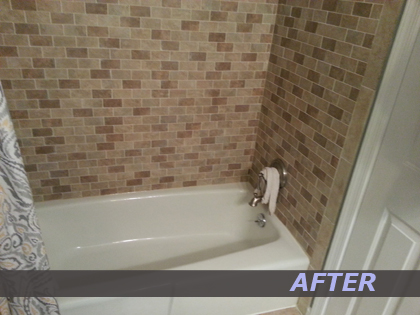
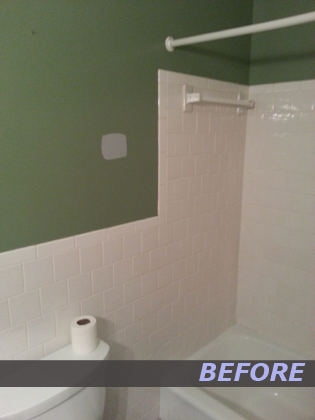
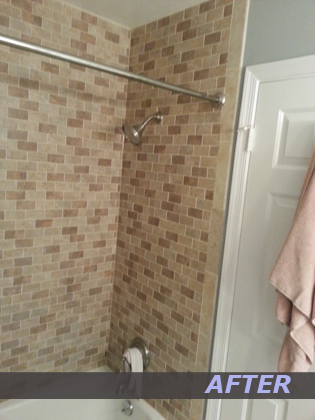
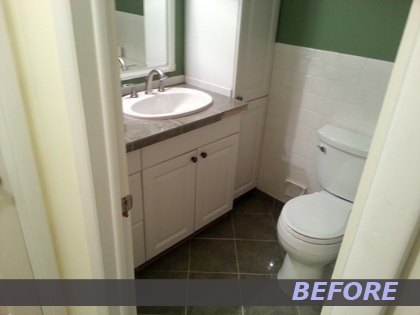
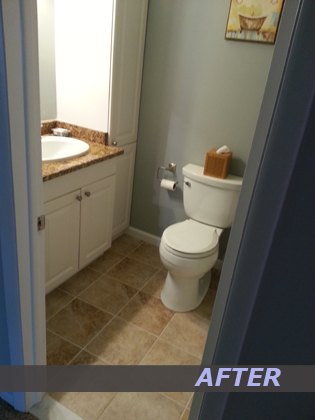
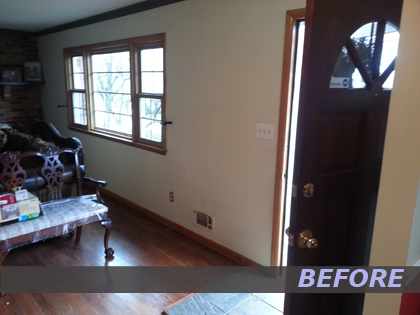
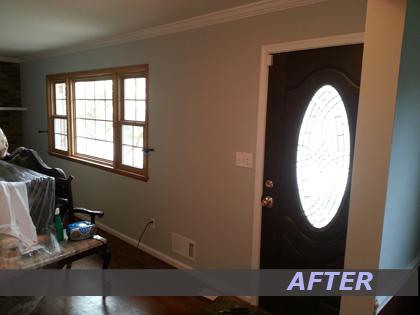
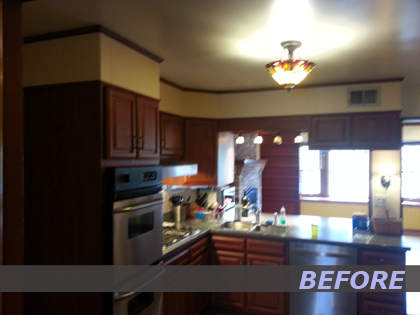
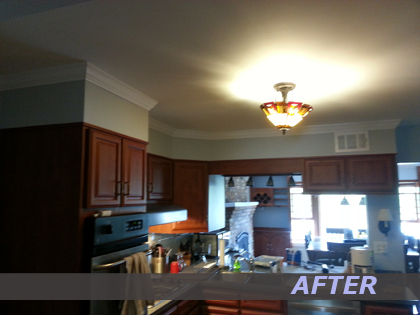
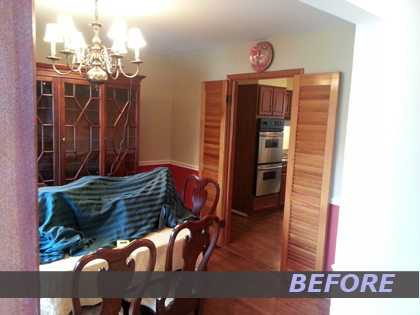
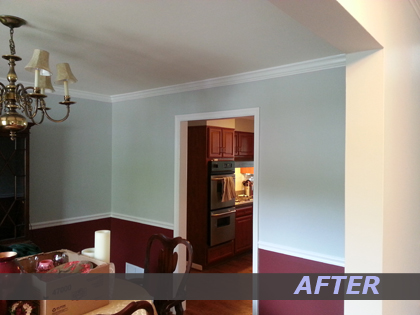
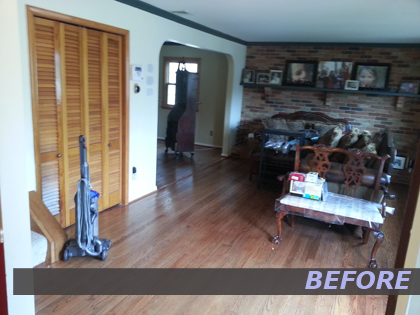
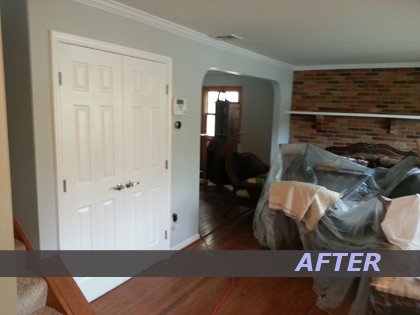
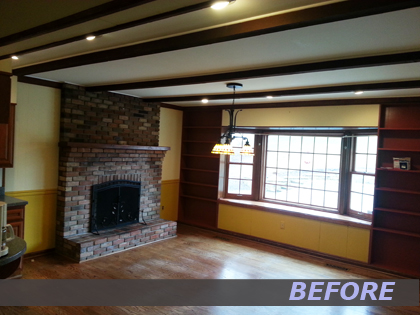
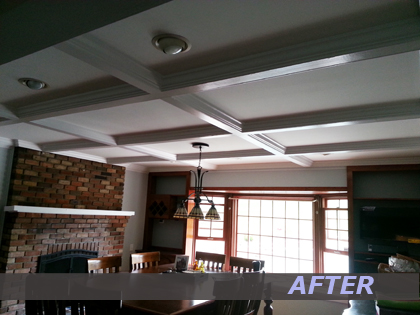
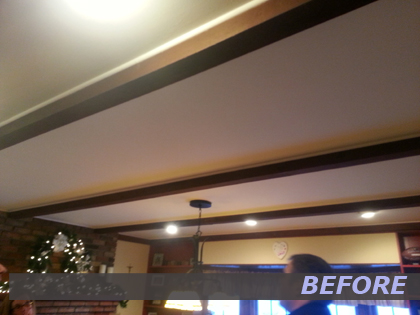
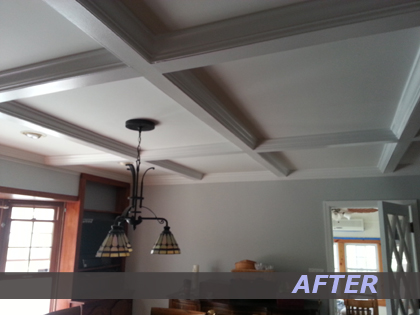
Have you been dreaming about updating your Kitchen? What about your Bathroom? Maybe you recently decided your finally going to go ahead and build that amazing Theater Room you always wanted? Whether its functionality or aesthetics your looking for, our Creative Team can help guide you along the way. Schedule a Free In-Home Consultation and let us help you turn your vision into reality.
-
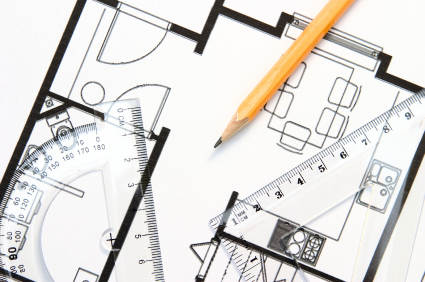 Being prepared to do your remodel will make the process less stressful and things will go more smoothly. When starting a new remodel, it is normal to feel a little nervous but preparing for the endeavor in advance will help calm your nerves during the process. How much will the product be financially? How much time is it going to take? What exactly are you looking for? Having an idea of these things in advance will be beneficial.
- Dust happens. Even though it might not be close to the construction site, dust can still accumulate. One way to avoid this is by creating an impermanent wall between the site of the remodel and the rest of your home or building. You can also use air handlers, which are systems for filtering air. They can keep the dust from the air in the rest of the setting. If you can, avoid using the furnace in the home and block cold/warm air returns. If you skip this step, you will pull dust from the site to where you are staying. Speak with a professional before blocking ducts to make sure your system will still run correctly.
- Excitement! Some people get excited when they see the first sign of the remodel. Some are happy when they see the old fixtures being torn down. Others don’t get excited until they see the final product. Take time to look over everything that is happening. It takes a lot to get to the final product.
- Unexpected things happen. There could be weird wiring, jimmy-rigged plumbing, asbestos, and other things that could turn up during a remodel. When considering a budget , be sure to include some leeway for the unexpected.
- Cash on hand. Although you planned your budget and could be right on track, the amount of money you are planning to spend itself can be overwhelming. Costs increases and and changes can be stressful. Having atleast ten percent over your contract price available if needed will help to reduce your stress levels when these issues arise. More is better.
- Decision making. How high do you want that window pane? Where should the electrical outlets go? What type of metal will look best? There will be a million questions to answer as you go through the process. Even after you pick a contractor, there are many decisions to be made.
- Noise. There will be saws going, sanders turning, compressors, and nail guns among other awful noises all at once. Don’t plan on doing anything that requires a calm, quiet environment. It gets a little hard to deal with, so it is better to enjoy some quiet time elsewhere during the renovation.
- Sighs. There will be many times where you just let out a sigh during the process and feel a little defeated. There will be a lot of checks to write and a lot of questions to answer. There will be a lot of people walking in and out of your home and not much privacy for your and your family. But the end result Is worth it.
- Additions and Reductions. Things that are added or removed can either work in favor for your budget or against it. As the job progresses you may want to add or change something to suit your needs and make your new space exactly how you want it.
- Delays occur. People fall ill, snow decides to come down heavily, and deliveries can run late. Your schedule may change a little depending on all of these factors, plus more that is uncontrollable.
- Final details. After the project seems complete, you may still have a few things to take care of. Maybe a shipment was delivered damaged, or something didn’t arrive at all. These last things may take the longest to get done, but it is important that the things you want get done, and done right. After all, this project is pricey and you want it to last!
-
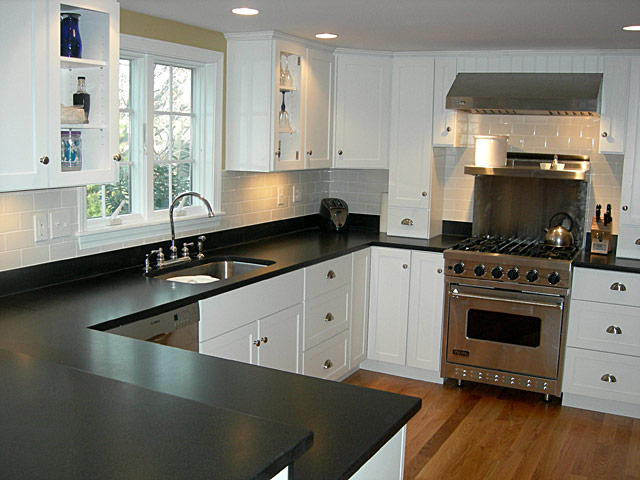
You’ve decided to remodel your kitchen. Now what? Not knowing where to start, many homeowners fall into two camps. Some start by looking at appliances. Others start by collecting inspiring kitchen photos. Some decide they need more room. Others simply want to upgrade their current kitchen. Homeowners may find themselves in this exploration stage for a year or longer before they start interviewing kitchen designers or general contractors.Once you’ve pondered long enough and you’re ready to green-light a kitchen remodeling project, then what? We’ll start with the first 9 steps and we’ll get into the nitty-gritty details under specific steps as we move through the complete workbook.
Step 1: Think about what you needThis step is all about how you use your kitchen, and finding the layout and features that fit your household’s lifestyle. Get ideas from every resource possible, includingHouzz guides and photos, kitchen showrooms, books and magazines.
Think about your priorities: how many people will be cooking and gathering here, and how they’ll need to move around in it. Do you need an addition? Or can you work with your existing kitchen footprint?
If you haven’t already, start saving photos of kitchens with features that suit your style. Your collection can be organized and beautiful like a scrapbook or it can be filled with random, unorganized images. I actually prefer the latter, because I like to randomly stuff images into my folders and ideabooks and go back to them later on for edits.
Step 2: Research and plan
Ready to green-light that project and take the plunge? The best place to start is by formulating what’s commonly referred to as a scope of work and figuring out your preliminary budget.
Both of these may be subject to change, so don’t feel like you have only once chance at this. Budget and scope are intertwined and often change many times during the design process as you become more educated and able to reconcile what you want and what you can afford. As a homeowner, you’re not expected to walk into this knowing what everything should cost. Remember, this is an educational process.
How to Map Our Your Scope of Work | 3 Common Kitchen Budgets
Step 3: Find the professionals you will need
Even if you’re going the DIY route, unless you’re building your own kitchen cabinets and doing your own electrical and plumbing, you’re going to have to work with a professional at some point. It may be as brief as leaning on your salesperson to help you in selecting and ordering your appliances or cabinets, but it’s something to plan on either way.
Some people start by visiting big-box stores or cabinet showrooms where they can see everything. Many homeowners get referrals from friends or colleagues and start by hiring an architect or designer. Still others might work on their own with a builder or contractor. Pros are available to help you with everything from contracts and permits to space planning, budgets, choosing finishes and fixtures, shopping, ordering products, helping you set up a temporary kitchen, and managing your project from start to finish.
How to Work With a Kitchen Designer | When Do You Need a Pro?
Step 4: Schematic designThis phase includes sketches, space planning, preliminary floor plans and elevations showing the layout and cabinet sizes. I try to keep my clients focused more on layout and space planning, even though the temptation is to talk about what the kitchen will look like. But I find that getting caught up in the look too early can distract from the space planning phase.
Plus, you need a plan in order to figure out what materials will go where, and how many square feet you will need, and ultimately how much this will cost. I like to begin the contractor interview process early and give them a preliminary drawing packet and scope of work so we can get some ballpark construction numbers. At the same time you can be sending out drawings for estimates on some top choices of finishes and fixtures.
More on Planning Your Space | How to Read a Floor Plan
Step 5: Fixture and finish specification
Throughout this process, and probably long before, you have been saving photos of kitchens you love into your ideabooks and folders. You’ve found your style, whether it’s modern, classic, traditional, cottage or a personal style in between. You probably know if you want a white kitchen, a natural wood kitchen, or somecolor.
Now you need to make your final selection of finishes and fixtures. This usually includes:
Step 6: Work on design development and construction documents
This is the stage when you finalize the design and prepare final floor plans, elevations, details and, if applicable, mechanical and electrical drawings, lighting switch plans, and exterior elevations.
This is where your final permit set or Construction Drawings (CDs) come into play. It’s important to havefinishes and fixtures selected at this time, since this is what will be considered in the final pricing from the contractor.
You’ll submit drawings for permits. These have a lead time, so check the timing with your local village. You’ll need an architect, designer or licensed contractor signed up to finalize the paperwork and pick up your permits, so get ready to hire someone in the next step. I often find that we’re submitting for permits around the same time or a little bit after we’ve placed the cabinet order, due to similar lead times.
Step 7: Get contractor estimates
If you don’t already have a licensed contractor on your project, your next step is to find one to carry the project through. I always recommend to my clients to get at least 3 different contractor estimates. I like to do preliminary walk-throughs with the contractors once the schematic designs are done so we can get some ballpark estimates and find out if we’re on the right track or need to pull back some to fit the budget.
What to Look for in a Contractor’s Contract
Step 8: Get ready for demo
The big day is upon us, most likely something like 4-8 weeks from when you submitted for permits. Time to get that schedule firmed up and plan on cleaning out the cabinets, putting what you don’t need in storage and — if you’re living in the house during construction — setting up a temporary kitchen so you don’t lose your mind!
You may be moving out of your house temporarily, but most homeowners white-knuckle it and try to live in the house through construction. Preparation and organization can save your sanity.
Discuss the logistics ahead of time with your contractor. Will you meet once a week for updates? Will you have to be out of the house for certain tasks like demo or flooring? What about debris removal and dust? Are there any family allergy issues? What is a typical work day for the crew? Getting all this on the table beforehand can set expectations and make for a smoother ride.
4 Ways to Get Ready for Kitchen Construction
Step 9: Surviving the dreaded punch list
Once construction is over, well … almost over … there’s always this annoying little list of items that are missing, wrong, or simply forgotten about. A missing light switch plate, a caulk line that shrank and pulled away from the wall, paint touch ups — small things like this, and sometimes bigger things like the hood doesn’t work, or there’s a big scratch in the newly refinished floor.
Sometimes the homeowner does the punch list. It can be as informal as an emailed list of items that need to be fixed or finished. I like to use a little form I put together that identifies the item to be fixed or finished, the responsible party and the date of completion. I send it to the client for review, changes and additions, and then off to the contractor.
It’s inevitable that the contractor may have to make multiple visits back to the house to finish these items; prepare yourself for more than one visit and you’ll be fine.The best way to approach this is with a Zen attitude. Things happen, little things get missed. It’s sort of like making a list for the grocery store and still forgetting some key ingredient. We all do it.
-
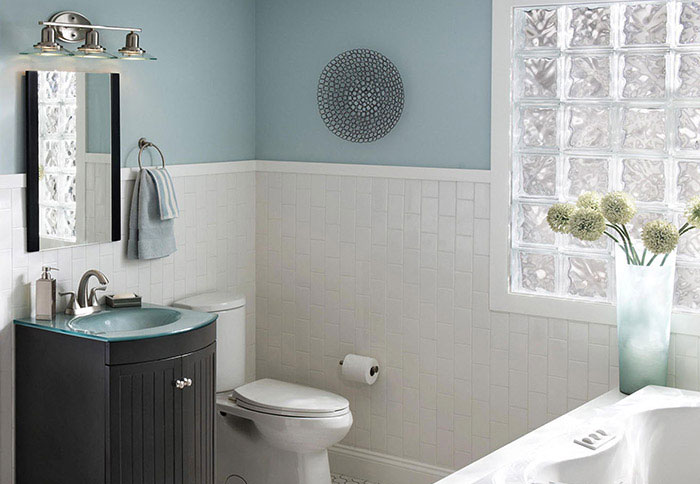
9 Surprising Considerations for a Bathroom Remodel
Mark Clement
Houzz ContributorBathroom modeling and design blend big dreams and practical realities. To make a bathroom work, it’s best to design from the fixtures and finishes backward to the walls and floor. The little things about an intimate room can make a huge difference in the day-to-day experience of it.
At the beginning of the process — the dream phase — the focus tends to be on color, layout, heated floors and moving things around. These are all important things, but if nobody is thinking about the stuff behind the walls and under the floors to make the overall design work well and affordably, the train will head off the tracks as soon as it leaves the station.
Here are nine things to think about at the outset of a bathroom project and at every step of construction.
1. Problems under tile. Little things can become big, expensive problems in an old-house bathroom remodel. Subway wall tile and small black and white floor tiles are possible indicators of an older home. And when you talk about removing and replacing old tiles, you’re often talking “wet bed.”
A wet bed essentially means the tiles are sitting on a slab of concrete poured into the floor system — not how it’s done today. Wet-bed tiles are difficult and expensive to remove. Wall tiles may have several coats of concrete and maybe wire lath — brutal. You might want to settle for these tiles and spend your time and money elsewhere. Good thing vintage is in.
2. Hiding the plumbing — or not. Think carefully about fixtures and all the stuff that’s connected to them as you lay out the plumbing, electrical and framing, not the other way around. This will help you avoid mistakes and do tighter work.
You may choose to leave plumbing supply lines exposed, as in the bathroom here, for a more industrial or vintage look. Or you may choose to hide them behind the sink pedestal for a more modern look. Little things make big impressions.
3. Think threshold. Curbless showers are awesome, but for the water to flow into the drain, the floor has to be high enough to pitch the tile into the drain. When you add thickness to the floor, you have to think about the transitions into the room. If someone needs to wheel into the room, accommodations must be made.
4. Privacy, please. Consider privacy, as bathrooms tend to be shared. I’m a big fan of toilet rooms. They’re pretty easy to install, and they make a master bath much more accommodating for two people who use it at the same time.
5. Do you want a warm floor? One of the biggest layout control points for a bathroom remodel is the door threshold. When you add a heated floor or curbless shower, this transition area is affected, so consider the implications carefully. The thicker the floor, the bigger this transition.
6. Kill cold spots. For showers on outside walls with soap nooks (love them), tuck a piece of rigid foam insulation behind the backer board before you tile to minimize a cold spot inside the home.
7. Are two bathrooms better than one? You bet. Side-by-side sinks are great for large master baths. But for some couples, two small bathrooms work even better — each person gets a private nook. This may make for a smaller “master,” but it can make for a more awesome experience every day.
8. Shower power. Do you take a lot of baths? Do you like to luxuriate in the shower? Consider adding a ¾-inch supply line to the tub or shower for a more consistent, faster flow of water. It’s the opposite of a water-saving tip; this not-so-green idea would be a splurge.
9. Water on the floor. Stand-alone showers are awesome features, but think about the bath mat that might abut it every day. And about traffic flow. There are no (or not many) mats that work with stalls that open at the corner, so you’re stuck with a bare floor on one side of the shower door and a bath mat on the other. And that means a puddle after every shower.
-
Basement Remodeling
Additional Living Space
Is your family growing? Do you need a spare bedroom or a guest room? Remodeling your basement is a great way to expand your living space. Basements are like a blank slate that you can convert into the type of space that you need. Be it an extra bedroom, a recreation room, a theater room, craft room or anything that you have always wished that you had more room for your basement is there ready to be converted. Now is the time to contact American Home Specialist and let us help you convert that space into something that you have always wanted.
Theater Room
A basement is the perfect place to build a home theater room. It is spacious and the lighting is perfect. Have regular family movie nights or invite your friend over for an evening of entertainment. The possibilities for a home theater are endless. Let American Home Specialists help you design your dream theater.
Exercise Room
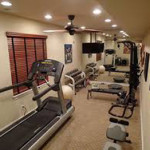
Make more time for fitness when the fitness equipment is right in your home. A basement provides the perfect space for a home gym. Your beautiful new space will give you the incentive you need to keep in shape. The possibilities are endless! Contact an American Home Specialists consultant and start on you way to better fitness!
Playroom
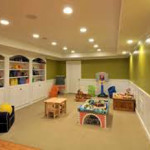
Let American Home Specialists make the perfect playroom for your little ones. Consolidate all the toys in your home to one room and make a childhood dreamland. Your choldren will spend hours of joy in their own special space. Contact AHS now and let’s talk toys!
-
How many times have thought about opening up your kitchen, adding an island, upgrading your flooring or just modernizing your home. Whatever home remodeling job you have dreamt about, American Home Specialists have done it. Contact us to discuss you project and we will help guide you on how you can accomplish it.

